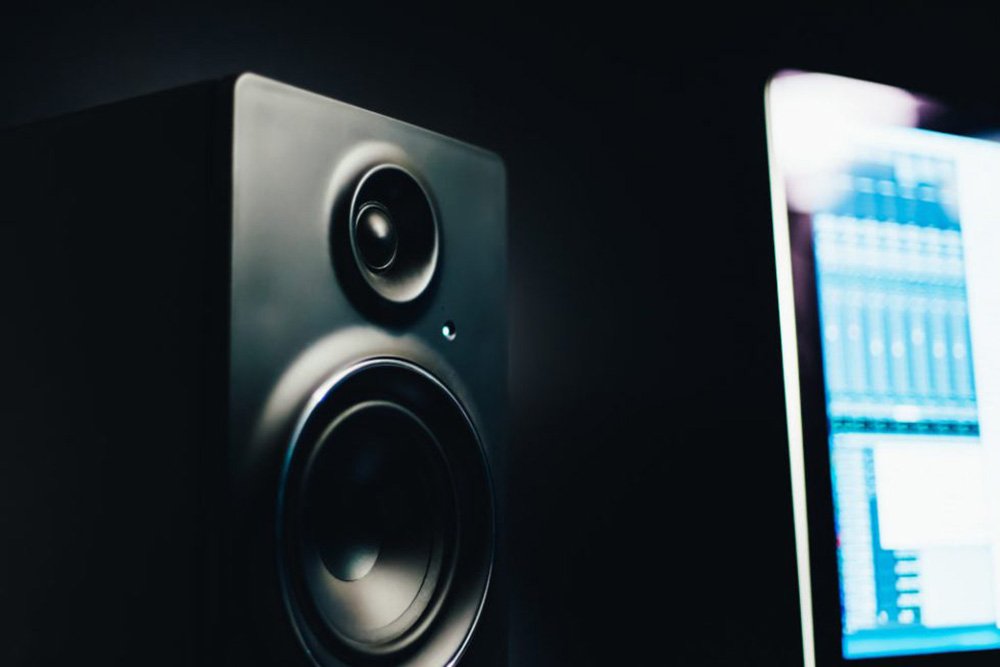
Mixing EDM in a bedroom studio (or any home studio) can be tricky, but there are plenty of steps we can take to help us create professional sounding tracks.
This is a guest post from Luke Prosser (founder of Learn Music Tech) – and he has shared his 14 top tips for making sure you’re getting the best from your mix downs….
You can purchase the finest condenser microphone, the best converting audio interface and the most incredible speakers. In a poorly treated room, however, none of these things will mean very much. Your recording and mixing is only as good as the room in which they are conducted.
Practical tips for a more professional sounding EMD mix
HOWEVER! Don’t let this put you off. While a perfectly treated room is certainly desirable, it’s not always possible. In fact, in this article, I argue that it’s pretty much a physical impossibility in a standard residential bedroom studio mixing environment.
Instead, I want to talk about what’s realistic, what the real limitations are, and how to make the most out of what you have.
1) Don’t waste money on expensive equipment
First of all, don’t jump into buying tons of acoustic treatment before assessing your space. Also, don’t assume that better gear is the solution, either.
High-end audio interfaces and monitor speakers will not solve the problems of a poor-sounding room. The recordings will be limited by the acoustic performance of the space and, as mentioned, speakers are only as good as the room that they’re playing into.

Monitors should also be relative to the size of the space that they inhabit. If you have a smaller room, use smaller speakers. Large monitors are pointless in a small bedroom and, more often than not, actually have a negative impact on the mix.
2) Use reference tracks
Although many people advocate the use of reference tracks when mixing EDM, they can also be extremely useful when assessing the acoustic properties of your studio.
I’ve already addressed the fact that no home studio will be a perfect recording or mixing environment. Therefore, you need to understand the imperfections in your room.
Reference tracks are an essential part of the mixing process to help you maintain perspective, but they also enable you to understand your room more accurately. Reference tracks can help you to gain this understanding.
If a professionally mastered balanced track is resonating at a particular frequency, you can make a pretty sure bet that it’s the room that’s causing the issue, not the master. By flipping back to your reference throughout the mixing process, you can assess the performance of your own mix and push or pull frequencies to adapt accordingly.
3) Get away from the walls
In a previous article, I explained how sound actually works in your home studio, and how reflections can adversely affect the quality of your recordings.
Sound waves from the original signal bounce onto the walls, from surface to surface and into the microphone, negatively impacting the direct sound. By moving your sound source away from the walls you can mitigate this issue to some degree.
As reflections are created by any sound source, it’s important to note that they are also generated by your monitor speakers, too. Any reflective surfaces behind or to the side of your speakers can generate unwanted reflections or comb filtering that warp the tonal balance of the sound you’re hearing.
Try moving your setup away from the rear wall and further towards the centre of the room (although not the absolute centre, as this will also give an imbalanced perspective). It’s also a good idea to avoid placing the speakers directly in a corner to avoid frequency build-up.

This isn’t always practical, particularly in smaller spaces, but just having an understanding of the implications of placement can enable you to have a more accurate awareness of what you’re actually hearing.
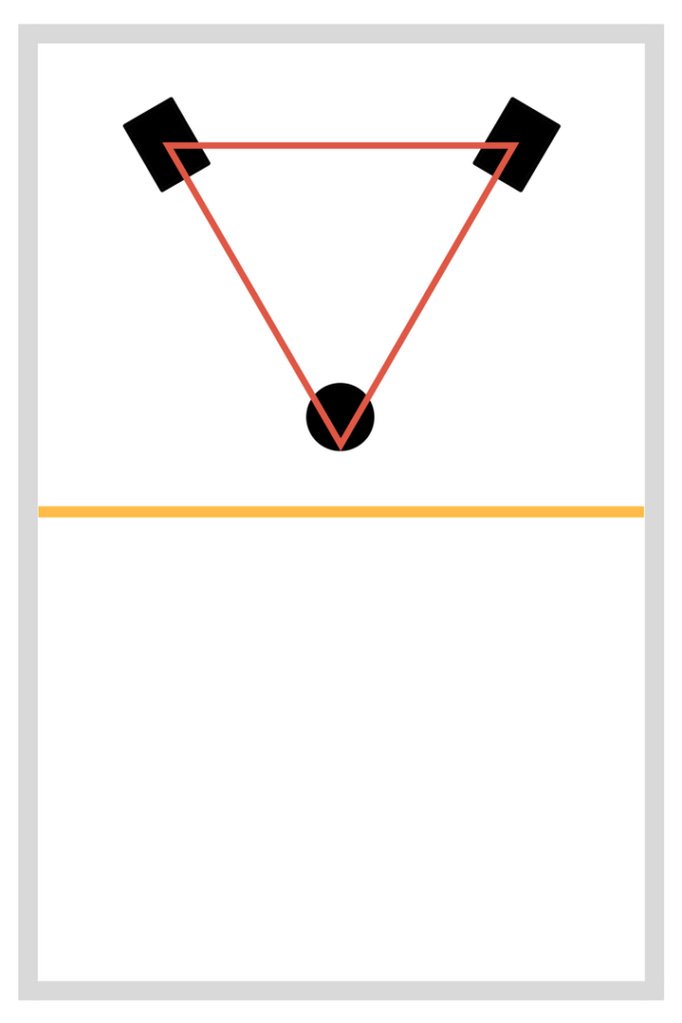
As a general rule of thumb, many people advocate the ‘equilateral triangle’ rule, where you position yourself equidistant from both speakers i.e. just within the third point on the triangle. While I don’t have enough space to fully break down monitoring positions and speaker placements in detail in this article, a quick Google search will pull up some great articles on the subject.

4) Avoid corners
Ask a physicist to come up with one of the best ways to reflect sound and create the worst frequency build-up possible, and a corner would be right up there. Corners are horrible for acoustics. Sound waves enter reflective corners and resonant frequencies are magnified.
Applying absorption to the corners in your room will provide one of the biggest returns on investment. This will reduce much of the high-frequency ringing and flutter echo. Placing bass traps in the corners of your room can also mitigate against low-end build-up.
5) Avoid parallel lines where possible
The majority of bedrooms are cube-shaped, which is one of the worst possible dimension combinations for acoustics (cubes certainly contain plenty of 90 degree corners!). Any resonant frequencies or flaws within the space will be magnified further in a cube, so anything that can be done to avoid this will have a major impact.
Obviously, short of knocking down walls, you’re a little limited. However, utilising the techniques listed in this article will help to reduce many of these issues, and introducing different textures and curves into the room will go a long way.
6) Absorb low end
Big, heavy, cushioned objects help to absorb bass frequencies. Being in a bedroom, a mattress is actually a big advantage. Effectively a huge sponge, a mattress will help to absorb many of the low-end frequencies that can build up and resonate in a small space.
The fabric on the mattress itself, the duvet and the pillows also help to alleviate high frequency build-up and flutter echo as an added bonus.
Any additional absorbing objects or materials that you can fit within the room will also help. For example, thick blackout curtains can help to prevent reflections that would normally be created by windows.
7) Cover your windows
If you’re in a bedroom, it’s likely that you have a window on at least one wall. Frustratingly, glass can create bright ‘slapping’ reflections that lead to an inaccurate view of the top-end. Consider closing curtains or covering windows altogether with absorbent panels.
8) Keep your bookshelf
A bookshelf full of fascinating reads of varying shapes, sizes and materials creates an inconsistent, uneven surface with varying textures. A well-stocked bookshelf can act as a useful diffuser. It’s not the same as a real diffuser, but it’s a decent home brew option, particularly if you already have one in place! See, reading really is good for you and your music.
9) Monitor at low volume levels
You’ll find many recommendations for listening at lower or ‘conversational’ volume levels i.e. at a level where you could easily have a conversation with someone in the room with you over the top of the music. Ear fatigue can be a big problem, as tired ears create an inaccurate picture of your mix, and listening at a lower volume level will certainly help to prevent this and enable you to mix more effectively for longer periods.
Listening at high levels also carries a risk of permanent hearing damage. While you should certainly test your mix at various levels, you shouldn’t push it too high and you certainly shouldn’t listen at louder volumes for too long. On top of this, loud sounds actually cause a natural compression within the ears themselves that also gives a false perception of the frequency balance and dynamics of your mix.
All of this is extremely important, however there is another, perhaps less obvious, added benefit of listening at a quieter, more sustainable level. If you have an imperfect room (which is pretty much a guarantee in a residential property), mixing EDM at low levels can reduce the sonic impact that the environment has on the track when listening. At a lower amplitude, less undesired reflections will be created and the strength of resonant frequencies will be reduced.
So watch that level!
10) Make use of headphones
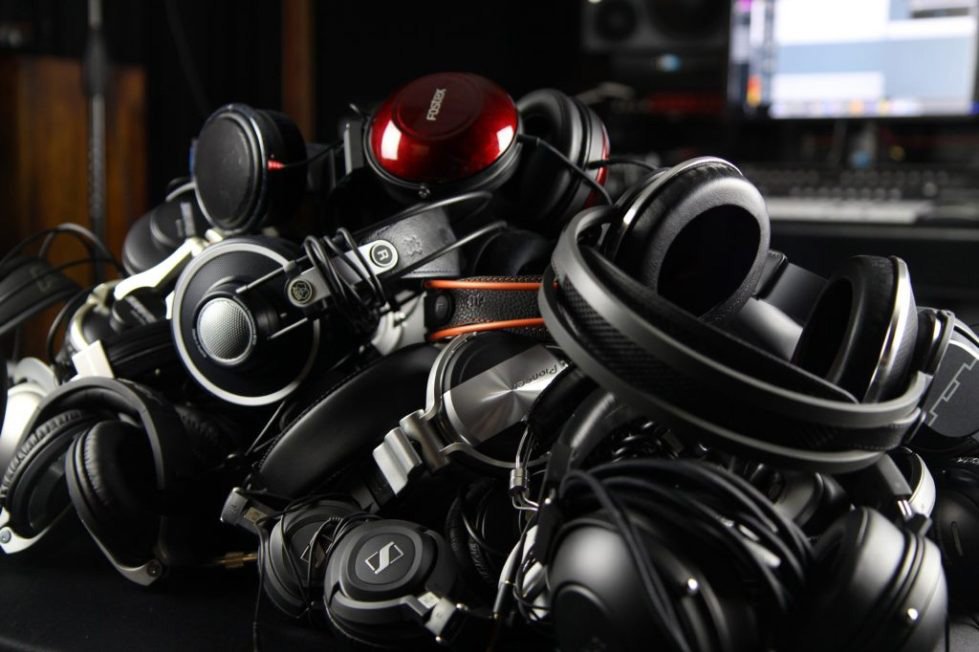
Although I can’t recommend solely using headphones when mixing, they’re a boon for home recording when you’re working in an imperfect environment. Headphones isolate the sound, so there is no opportunity for it to interact with the space around you before reaching your ears, thus eliminating the impact of the room.
It’s a more extreme version of the previous tip, as the room literally plays no part in your listening experience.
However, headphones have their own imbalances which should be taken into consideration. In an ideal world you should aim to use a pair that have the flattest frequency response possible, but this isn’t always achievable on a home recording budget.

The main thing is to know your headphones, exactly the same as knowing your room or any other piece of gear. If you’re aware of their flaws, you can learn to compensate for them in the mix. I have a pair of Beyerdynamic DT250s that I picked up when I was starting out. They’re great for tracking, but they have issues in the low mids. Eventually I’ll be getting some new cans but, for now, I factor these issues in when listening.
I would never recommend earbuds, though, in any scenario. There are some great sounding earbuds available nowadays and a lot of work has been done in this area, but they can be dangerous for your hearing in environments with other ambient noise e.g. cars, aeroplanes, where you’re forced to turn up the volume to compete.
11) Isolate your speakers
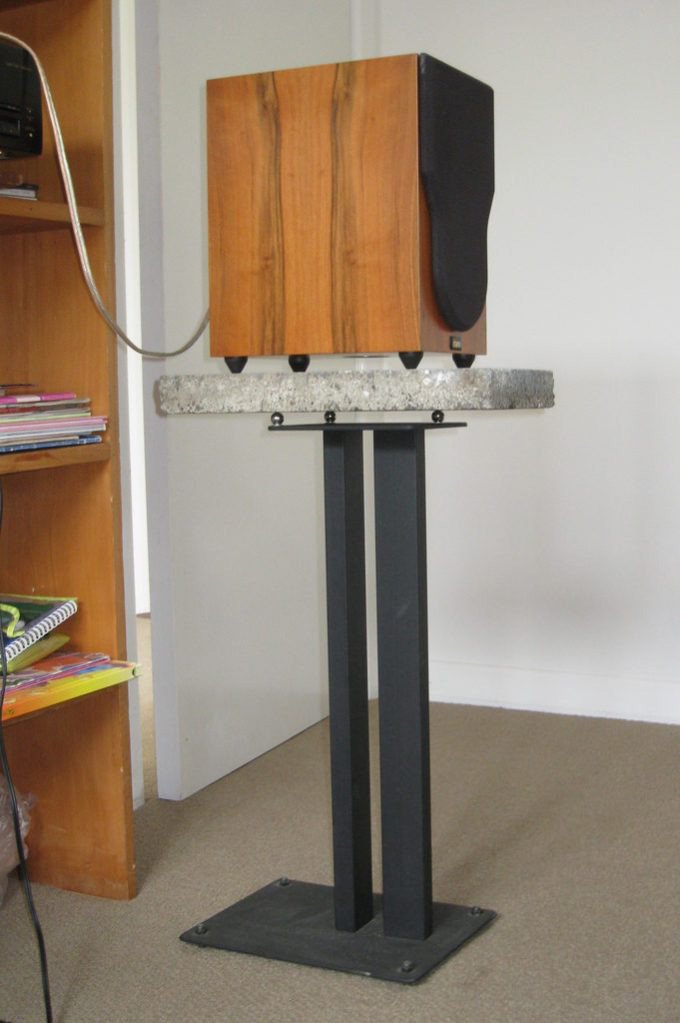
Not only is it a good idea to move your monitors away from nearby walls, it’s also important to isolate them from contact with any other reflective surfaces. I’d estimate that a large majority of bedroom producers have their speakers placed directly on their desk, table or shelf system. While this is practical, the monitors will actually resonate with these surfaces to generate an inaccurate view of the frequency response.
There are a number of ways to separate your speakers from other surfaces and minimise these unwanted resonances and reflections.
Speaker stands
Speaker stands are the most obvious solution (and possibly the best), since they enable you to completely remove your monitors from the desk. However, in smaller spaces (like bedroom studios!) they’re not always the most practical option. Particularly if your desk is stuck up against a wall and can’t be moved, this may force your speakers into a very wide listening positioning that’s even more inaccurate.

Desktop pads
If you’re not able to use speaker stands due to the limits of your space, then monitor pads or ‘wedges’ are an affordable alternative. A number of brands now offer these in various shapes and sizes. I recommend checking out Auralex (the original) and Primacoustic to start with. Many models also enable tilting so that the monitoring angle can be customised to your listening position.
Desktop stands
I currently have quite a large desk setup and I prefer to sit in quite a tall position, so desktop stands are the best option for my personal needs at present. IsoAcoustics are the brand to look out for in this department.
Their stands have superior isolation, custom tilting, come in a range of sizes and I was very impressed with the difference they made to my environment. Please note that I’m in no way affiliated with IsoAcoustics, I just think their product is awesome. A little pricey, but I think it’s worth it. You can view a number of demo videos on YouTube to check out the before and after for yourself.
12) Make use of the closet/wardrobe
In my recent article, I talked about how closets or built-in wardrobes can be used as handy recording spaces in the bedroom studio, and that they can break up parallel lines that can plague the acoustics of most rooms.
I also pointed out that they should be used with caution, as they can sound boxy and roomy if not treated effectively.
Within the limits of a bedroom studio, though, and when appropriately treated with good absorption, closets can offer a decent space for recording dry vocals, for example, as well as a myriad of different instruments.
[As an aside, avoid brass if you can, as this almost never works in a small space.]
In addition, however, closets can also be utilised for mixing. An average bedroom closet or wardrobe contains plenty of clothes, fabrics and varying surfaces that are ideal for absorbing and diffusing sound waves and reducing undesirable reflections.
Therefore, you can try opening up your wardrobe while mixing to break up any parallel walls and get some extra absorption to prevent reflections.
In addition, why not try adding cushions, pillows, blankets, towels – essentially items that you may already have hanging around the house – to shelves to improve this effect? You can even fix additional acoustic panels to the inside of the doors for added diffusion.
13) Leave the room
This one may sound a little left of centre, but often you can actually get a more balanced impression of your mix by turning up the volume and listening outside of your room.
Over time, your ears become conditioned to your listening environment as your brain adjusts to the space that you’re in and begins to compensate for any flaws. This is one of the biggest reasons that mixing can be so darn challenging. Any variations that you can add into your workflow can help greatly in gaining a more accurate view of the actual frequency balance of your track. (This app can help train your ears).
Try going out onto your landing, your hallway or down the corridor and take a listen from a different perspective. You may find that certain flaws in the mix begin to jump out and become more obvious from this alternative position.
14) Leave the house
Continuing from Tip 13, actually getting away from your studio altogether can be extremely helpful in getting a better overall impression of your track.
Bounce it down and put a copy on your smartphone. Go for a walk and take a listen on some headphones. Take a drive and test out the mix through your car speakers. Take the mix to a friend’s house and test it on their system. You may even know other producers that have alternative setups, and you can also send your track for feedback.
Mix it up
By applying just some of the tips listed in this post, you’ll be well on your way to a better sounding room, better sounding music and a better understanding of where to invest your time and money.
This was a long guide so, if you made it this far, well done and thank you for reading! If you have any questions about treating your studio, or have any tips that you’d like to add, feel free to let Will and myself know in the comments below!
Finally, if you’d like to find out how to record your own sounds at home, you can check out a guest blog post from Ben here.
Happy mixing!
