In this blog post and video, I show you how to make music like Deadmau5 in under 10 minutes. It’s easy to follow – even for beginners!
Deadmau5 has long been one of the world-leading producers in the electronic dance music scene. His fat, tight productions have rocked dance floors for over a decade. By learning some of the techniques he uses you can drastically improve your own music productions in a surprisingly short space of time, and in this video and post I attempt to unravel some of the secrets for you to use in your own productions.
You can download the free samples I used to create this track here: https://cym.fm/2BhpAtc
Let me know in the comments if you want me to make this into a full course, as I did for Don Diablo Future House (which you guys seem to love! 😊). Click here for details on that.
In this blog post and video we go through the 6 steps of making music like Deadmau5:
1. Writing the Chord Progression
2. Making the Pluck
3. The Bass
4. The Drums
5. The Vocals
6. Processing and Mixing
Here is each stage of the process in detail:
1. Writing the Chord Progression
a) Choose a key to work in (e.g. F Major)
b) Draw in all the notes of that key in your piano roll editor, move to the left of the clip and press “fold”. For more info on how to do that, click here <>
c) Write the bass notes out using your template.
d) To build the chords (using the template), just skip one note each time until you have a three note chord for each bass note.
e) Once you’ve done that, press “fold” again to turn it off, then change any chords you want from major to minor (or vice versa) by shifting the middle note of the chord up or down a semi-tone (half-step)
f) To make lush “7th” chords, press “fold” again, then add a fourth note to the top of each chord, skipping one note in the template each time.
g) To make them more cohesive, experiment with “chord inversions”, by grabbing a row of notes then shifting it down or up an octave to make a smaller range between the lowest note and the highest note on the progression.

For more info on making chords for EDM, click here.
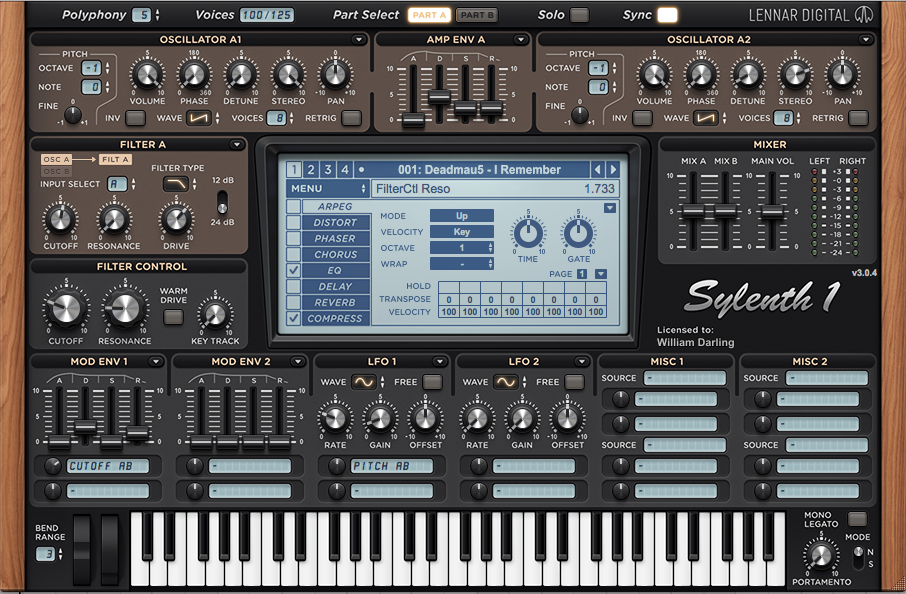
2. Making the pluck
a) Open a synth like Sylenth1, Serum or Massive, for example.
b) layer up a few saw waves.
c) Use a super-fast attack, a short decay (like, 4.5 milliseconds), and a slightly shorter sustain and release (e.g. 2,5 ms each).
d) Then use a filter envelope assigned to a low pass filter, with a super-fast attack, super-fast sustain, and a pretty short decay and release (e.g 3 ms). Season to taste.
e) Then, add some reverb and a short delay on an auxiliary channel.
d) Assigning a macro knob to the filter frequency cutoff, and the amp sustain and release will allow you to “open up” the pluck with one knob.
e) You can then add a sidechain compressor triggered by your kick (or dedicated side chain trigger track, or Xfer’s LFO Tool / Nicky Romero’s Kickstart) to get that pumping sound.
3. The Bass
a) Copy the bass notes from your chord progression into a new MIDI channel.
b) The patch is made in a similar way to the chords, but an octave or two down. You might want to use triangle and sine wave combination instead of saw waves for a bit more “richness”. Stack a few waves and detune with stereo width for character.
c) Duplicate the bass line a load in a simple sine wave with similar amp envelope settings, but no filter. This is your sub bass. You might need to drop it an octave.
d) The “Bark of Dog” plugin (free here) is great for adding beefy bass harmonics to fatten it a bit.
e) Add the sidechain compression “pump”.
4. The Drums
a) Load up a bunch of decent samples (here are the free ones I used for this video: https://cym.fm/2BhpAtc)
b) The kick is super-important. Spend some time getting this sounding big with EQs, saturation and compression.
c) Choose your sounds very carefully, and don’t over complicate the rhythm. Reverse claps are a nice touch.
d) Route the send channels in your drum sampler to the aux channels in your mixer so they use the global reverbs)
e) Don’t be afraid of cutting up loops for the bits you want.
f) Add little fills and drum intros to keep interest (being careful not to over-complicate).
5. Vocals
a) Bring in your vocals and make sure the tempo is correct.
b) You can create harmonies using Ableton’s transpose feature.
c) Make sure the voice compliments the song!
6. Processing the Drums
a) Processing with plugins is super-important when it comes to the Deadmau5 sound (and, in fact, with any modern electronic dance music).
b) Processing the drums with a glue compressor and then a saturator is a great way to get “punch”. I’ve used heavy compression on this. Up to 5db gain reduction.
c) Feel free to sidechain compress (or LFO tool) any rhythm elements that aren’t the kick or the main snare. This clears up space for your kick to punch through.
d) EQ out any frequencies in the rhythm elements that are cluttering up the main kick and snare (or clashing with your instrumental elements).
7. Processing the Bass and Drums together
a) After adding a touch of saturation to the bass, and then a LFO tool, I buss the kick, the drums AND the bass all together.
b) I then glue compress and then saturate ALL of the above. It makes it pop! Be careful not to crush the dynamics.
8. Processing the Chords
a) Add saturation to fatten the sound
b) Add a touch of reverb (or just use the aux reverb if you want). However, doing it “in-line” means you can automate the dry/wet/ for build-ups / drops.
c) Reductive EQ to take out the low frequencies that clash with the bass (sub 100hz)
d) The ubiquitous sidechain pump compression (we already covered it when making the pluck)!
9. Hi Riff
a) Don’t be afraid to use presets! Preview a few, choose one that works, and tweak if needs be. It should probably be quite dreamy and long-releasey to juxtapose the short, sharp plucks.
b) Use aux channels to add some cool delay / reverb effects! Don’t forget to EQ out the low frequencies on the aux channels to avoid muddying the mix. (I used the Soundtoys Crystallizer).
10. Processing the Vocals
a) Use a saturator to slightly fatten them up if required (I love the Omega 458A, but Soundtoys Decapitator is awesome, too)
b) Roll off the low end.
c) Add the side chain pump (very subtle).
There you have it…Hope you enjoyed!
Should I make this into a full course? Let me know in the comments below 🙂
