3 SIMPLE Rules for PRO Mixes EVERY TIME
Mixing can feel confusing, technical, and overwhelming. One minute your track sounds great, and the next it sounds muddy, weak, or harsh. The truth is that great mixes don’t happen by accident. They happen when you follow a few simple principles consistently. In this guide, you’ll learn three pro mixing rules that professional producers rely on to get clean, powerful, release-ready mixes every single time.
Why Mixing Matters
Mixing is the stage where your track transforms from a rough idea into a professional production. Even the best melody or drop can fall flat if the mix is cluttered or unbalanced. A clean mix helps each sound shine clearly without fighting for attention. It also ensures your track translates well across headphones, cars, clubs, and streaming platforms. When you understand a few core principles, mixing stops feeling random and starts feeling controlled and predictable. So let’s look into the three pro mixing rules.
Rule #1 — Start From the End

Most producers start mixing without knowing what they are aiming for. That’s like driving somewhere without knowing the destination. Professional mixers always begin with a reference track that matches the genre and style of their song. This gives you a clear target for tone, balance, and loudness. It removes guesswork and helps you make decisions faster and with confidence.
Use a Reference Track Properly
Import a professionally mixed and mastered track into your project. Then match its tempo to your session so it plays in sync. Lower the reference track’s level until its average loudness sits around -18 LUFS. This step is important because mastered tracks are much louder than your mix, and you want a fair comparison. Once level-matched, you can accurately compare tone, low-end balance, and brightness.
Aim for -6 dB Headroom
Your mix should peak around -6 dB on the master channel before mastering. This leaves space for mastering engineers or limiters to work properly. Many producers mix too loud because samples are often normalized near 0 dB. If several loud sounds play together, clipping happens quickly. Lowering each sound when you load it prevents distortion and keeps your mix clean.
Why -12 dB Is a Great Starting Level
A simple habit is to reduce every new sound to about -12 dB when you load it. This keeps your levels consistent and gives plugins room to work correctly. Many analog-style plugins are designed to sound best at moderate input levels. Feeding them signals that are too hot can cause harsh distortion or unwanted coloration. Starting lower keeps everything controlled and musical.
Rule #2 — Make Space
The next one of our pro mixing rules says that mixing is really the art of making space. Every sound needs its own place so it can be heard clearly. When too many elements compete for the same frequencies or timing, your mix sounds muddy and amateur. Professional mixes feel clean because each sound sits comfortably without clashing. You control this space using three tools: volume, frequency, and time.
Control Volume
Volume is the simplest way to create space. You can lower sounds, mute them, or remove them completely. Sometimes the best mixing decision is deleting a part that adds nothing. Sidechain compression is another powerful volume tool. For example, ducking the bass when the kick hits lets both sounds punch through clearly.
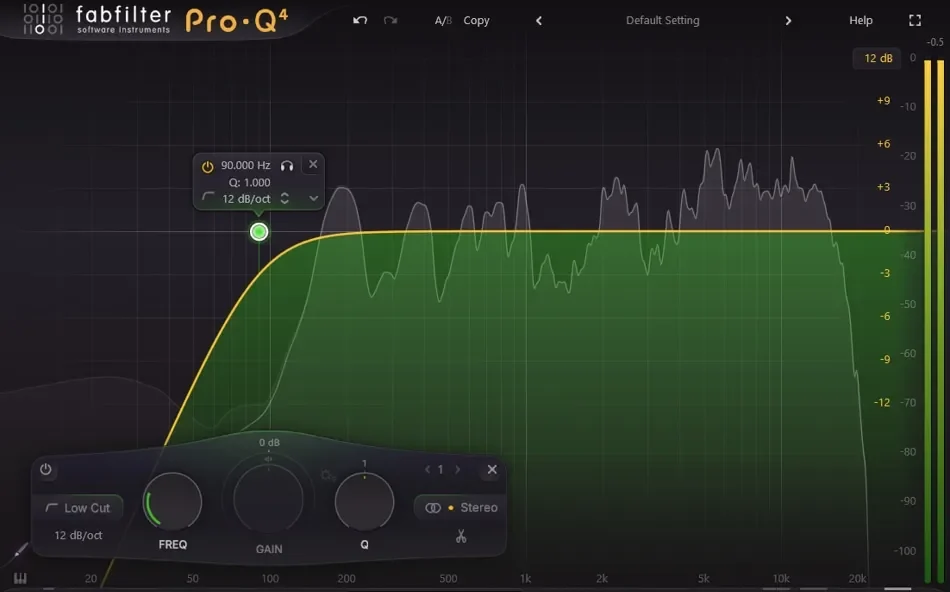
Control Frequency
EQ is your main tool for frequency space. A quick trick is to filter out low frequencies from everything except kick and bass. Removing rumble below about 100–120 Hz from non-bass sounds instantly cleans your mix. This creates room for the low end to breathe. Small EQ cuts often make a bigger difference than boosts.
Control Time with Reverb & Delay
Reverb and delay place sounds in a virtual space. Used well, they glue a mix together and make it feel natural. Used poorly, they make everything blurry and distant. The best approach is to use auxiliary send channels instead of inserting separate reverbs on each track. This gives you more control and keeps your mix consistent.
Create a “Room Reverb” Bus
A short room reverb bus can instantly add cohesion. Set decay under half a second and remove low frequencies from the reverb return. Then send small amounts of multiple tracks into it. This makes everything sound like it exists in the same environment. The result is a fuller, more professional mix.
Use Sidechain on Effects
Here’s a powerful professional trick. Add a compressor to your reverb or delay channel and sidechain it to the dry vocal or lead. This makes the effect duck while the main sound plays. When the sound stops, the reverb or delay swells back in. The effect keeps clarity while still sounding spacious. If you want to know more about sidechaining and all the different ways to set it up, watch this video next: How to Sidechain
Rule #3 — Mix in Order of Importance
 And so this brings us to the final one of our pro mixing rules. Large sessions with dozens of tracks can feel overwhelming. The solution is to mix from most important to least important. Start with the core elements that define your track. Then add supporting parts gradually, making sure each new sound works with what’s already playing. This method keeps your mix focused and prevents clutter.
The Top-Down Mixing Approach
Begin with your most important element, often the kick. Set it around -12 dB and build from there. Next, bring in the bass and make sure it works perfectly with the kick. Then add the snare or clap, followed by vocals or lead synth. Continue adding elements one by one in order of importance.
This approach works because it prioritizes what listeners notice most. If your core sounds work together, the rest of the mix becomes easier. If they clash, nothing else will fix it. Think of it like building a house: the foundation comes first, not the decorations.
Don’t Be Afraid to Remove Sounds
Sometimes a part just doesn’t add value. Removing it can actually improve the mix dramatically. Fewer sounds often mean more clarity, punch, and loudness. Professional mixes are rarely crowded with unnecessary layers. Simplicity is often the secret weapon of great production.
Final Thoughts
Great mixes aren’t about secret plugins or expensive gear. They come from simple rules applied consistently. Start with a clear target using reference tracks. Make space using volume, EQ, and time effects. Then build your mix from most important elements downward. When you follow these three principles, mixing becomes faster, easier, and far more predictable. Now, your best mix can only shine when the melodic aspect of the music is captivating as well. If you want to learn more about chord techniques that will immediately transform your music, then read this blog post next: 4 Chord Techniques That Will Instantly Improve Your Music
Want to Take Your Music to the Next Level?
That’s exactly what we help producers with in the EDM Tips Accelerator Program.
It’s our high-level coaching program designed to help producers like you finish professional-quality tracks faster — with personal feedback, expert guidance, and a proven system used by students who are now releasing on top labels and touring the world, accruing hundreds of millions of streams with their music.
